Are you one of those users who don’t utilize Quick Properties in AutoCAD because the pop-up palette “gets in the way?” Or maybe you don’t use them because they don’t contain the object information that’s useful to you. Maybe you don’t even know they exist. These are all valid reasons, but as a firm believer in keeping your eyes on what you’re working on, you may be missing out on a key piece of your overall efficiency by not using them.
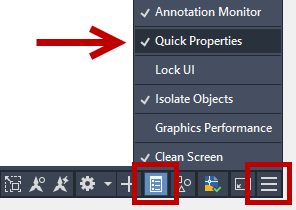
In today’s post, I’ll address each of the reasons I listed, starting with the last. You may not know they exist because the icon in the status bar isn’t displayed by default. So, first things first, let’s make sure it’s turned on. Click on the three-horizontal bar “customize” icon in the corner. Find Quick Properties, a few entries up, and click on it. Its icon will appear in the status bar, as shown below. Click it to turn it a light blue, indicating it is now enabled.
Customize Your Displayed Quick Properties
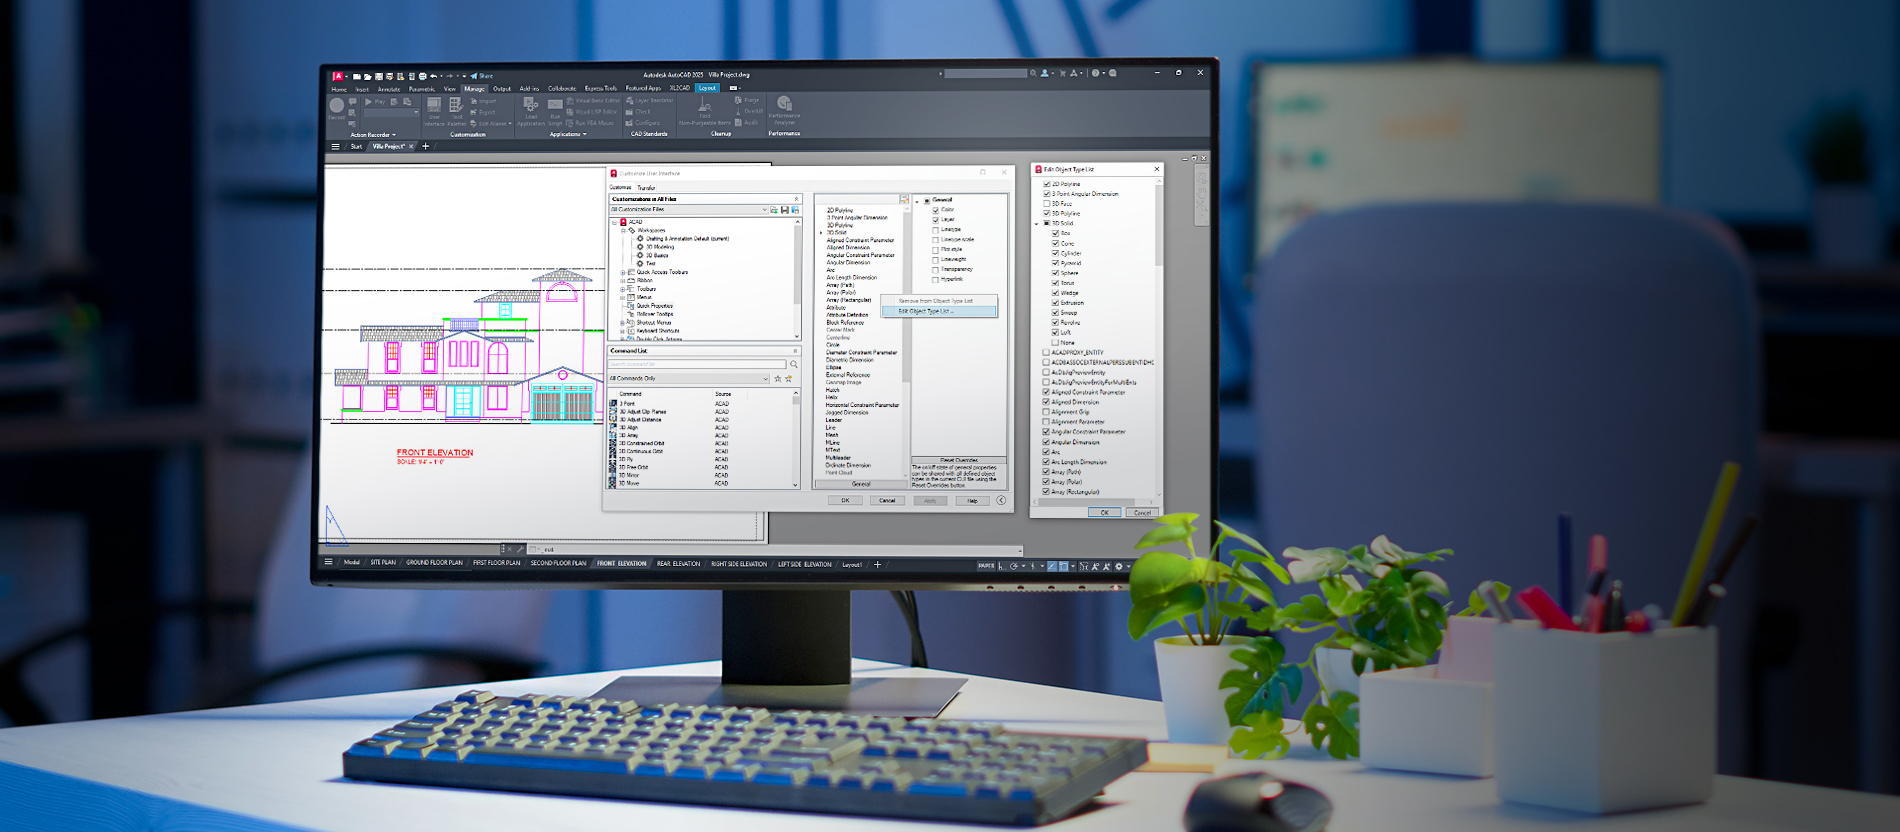
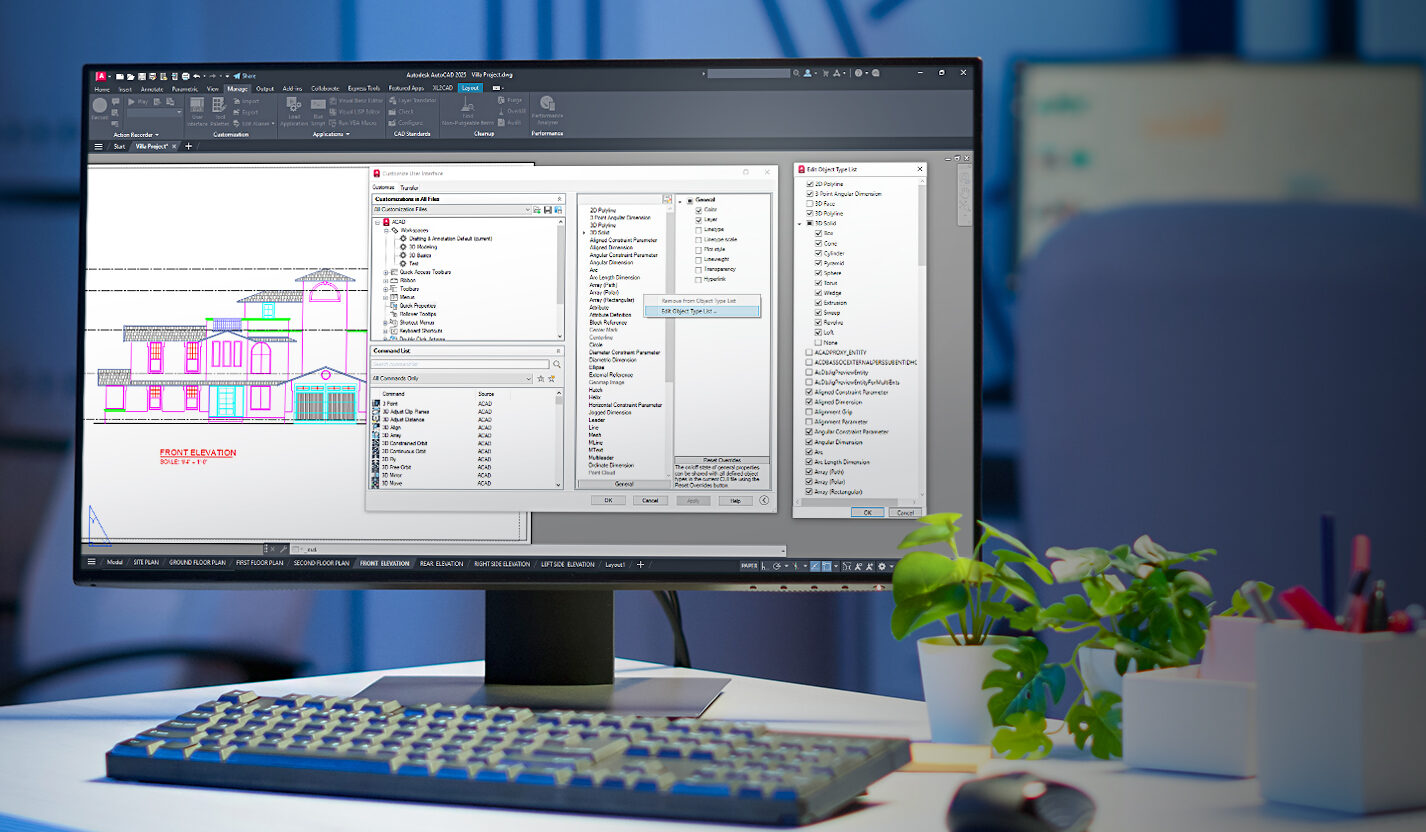
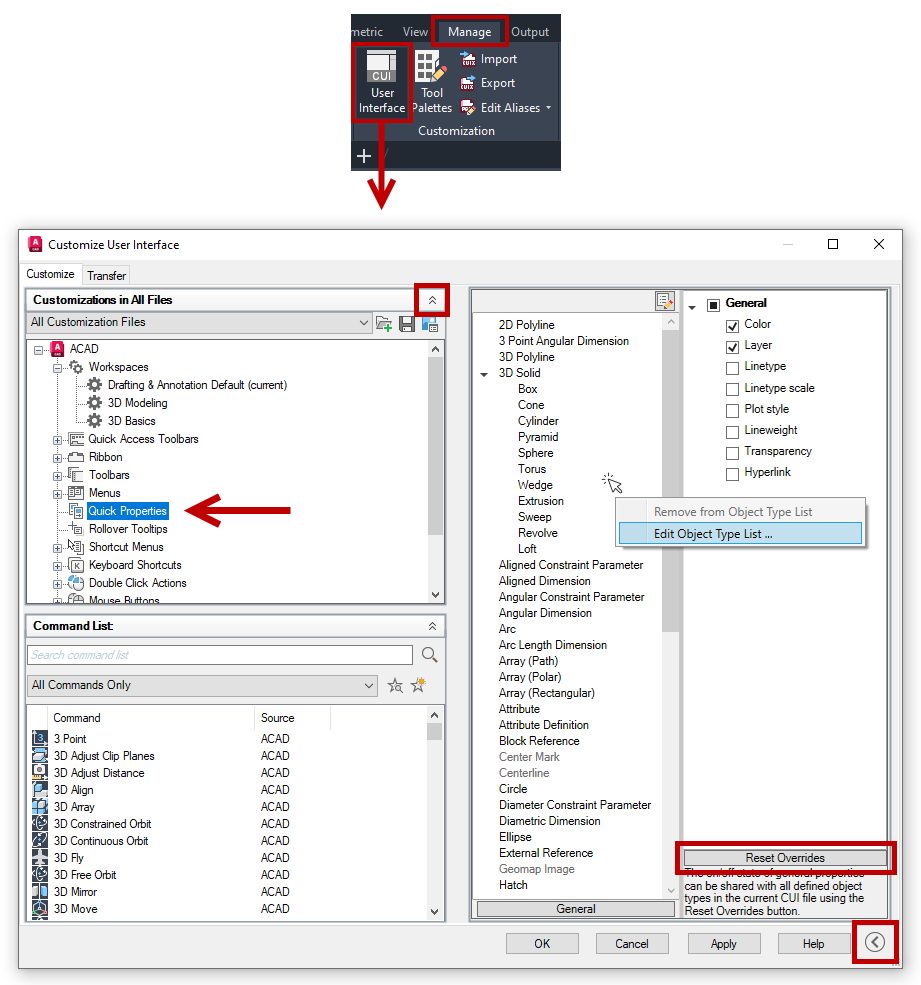
The second reason I mentioned for not using Quick Properties in AutoCAD is that they don’t contain the object information that’s useful to you. OK. Let’s fix that. You’ll need to open the CUI Editor to customize your Quick Props. From the Manage tab of the Ribbon, click on CUI User Interface in the Customization panel or just type in CUI on the Command Line.
Your CUI dialog may not look like mine in the image below. Way back in 2018 (in my fifth-ever Tuesday Tip blog), I wrote about the little things in the AutoCAD interface. This is yet another case at that point. Draw your attention to the two small red squares. You may need to click one or both to expand the panels as shown.
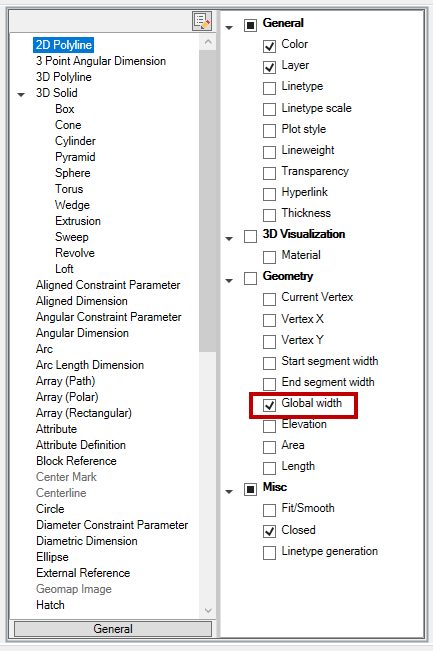
The first thing to learn about Quick Properties is that there are two parts to the info they display. There are “General” properties, which display for every type of object, and there are properties that apply only for a specific object. First, let’s look at the steps to change the General properties displayed.
In the Customize tab, click on Quick Properties in the Customize in All Files panel. The list of available objects will appear in the right side edit panel. The general properties are to the right and common to all objects.
Adding or removing an object from this list will affect all objects. Click on the Reset Overrides button to save any changes.
Back to the information that’s useful to you. Let’s say your workflow requires you to pay attention to the global width of your polylines. If that showed up, you’d be more likely to use QuickProps. Click on 2D Polyline in the left panel, and all of its available properties will be added to the right side. Select Global Width, click OK to save and exit.
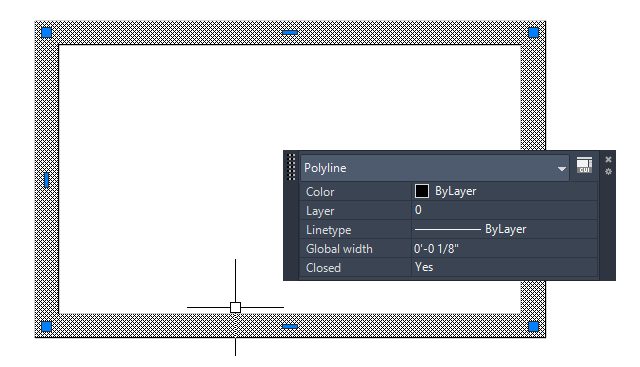
Now, click on a 2D Polyine to get a QuickProps palette that also displays the Global Width. You can do the same with any object type listed. Select it and make it your own by selecting other properties to display.
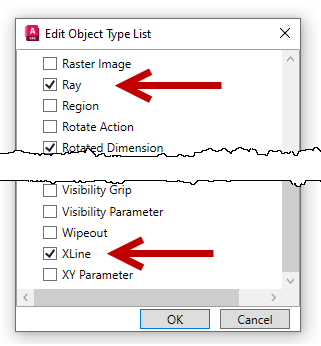
Maybe the object type you’re interested in isn’t in the default list. No worries. Let’s say you use Rays and Xlines a lot. Right click in the objects panel and select Edit Object Type List. You’ll get a dialog box similar to the image below. Find Ray and XLine, check them, and click OK. Now you’re on your way to getting Quick Properties set up just for you.
But It’s Still in the Way!
Consider the image two back, where the QuickProps palette overlaps the object. We’re all the way back to my first excuse for not using it: The palette gets in the way and obscures your workflow. OK, so let’s customize how and where it displays.
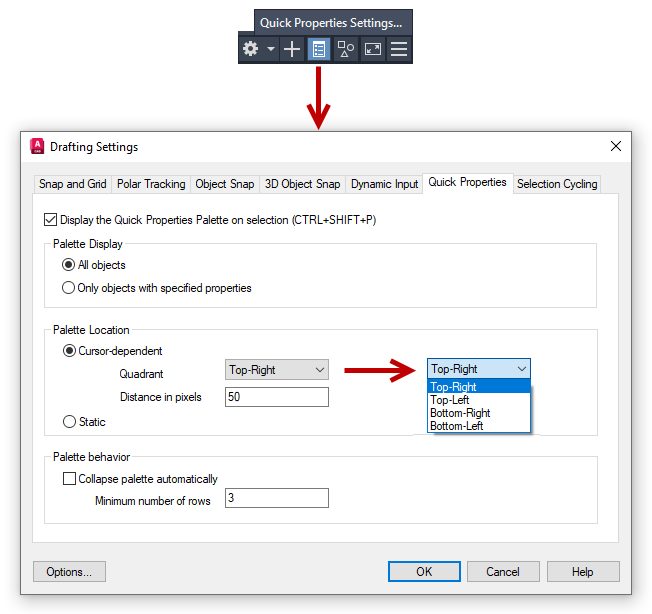
You’ll need to access the Quick Properties tab in the Drafting Settings dialog. You can get there by right-clicking on the QuickProps status bar icon and selecting the popup menu item. There are several controls you can choose from. The top panel will allow you to limit the display of QuickProps to only objects that have specified properties.
The middle area defines the location of the palette. By default, it appears 50 pixels to the top-right of your cursor location. If you’re someone who selects the left side of objects by habit, it can certainly get in your way. Change it to one of the other quadrants and/or alter the distance from your cursor (0 to 400).
The other option is to use a static location. Here’s the good part: you define where it displays. When in static mode, just drag the QuickProps palette to where you want it to appear, and it will always display in that location.
Finally, no matter how many object properties you have selected to display in the palette, you can specify that it displays collapsed down to the number of rows you specify. Just roll over the edge of the palette to expand it fully.
That’s All Folks
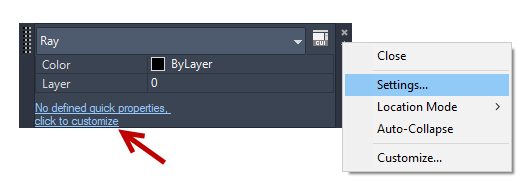
How’s that for a lot of flexibility? I’ve got a little more for you. You can also access all the settings I’ve discussed via the palette itself by clicking on the Options icon on the sidebar. If it only shows the general properties, you’ll get a link that will take you to the CUI dialog.
I have a bit of a different ending than normal for this post. Earlier, I referenced my fifth-ever Tuesday Tip. That was back in 2018. It’s hard to believe, but today’s tip is my 100th in this series. It’s quite a personal milestone.
I remember how excited I was being asked to fill some mighty big shoes, but I also had the opportunity to share my experiences with a much larger audience than I thought I ever could.
So, it seems appropriate to thank my friends on the AutoCAD team for continuing to give me this opportunity, my various contacts there over the years (you’re all tied for the best), and most of all, to you, my dear readers, without whom this amazing ride wouldn’t exist.
Here’s to the next 100.
More Tuesday Tips
Check out our whole Tuesday Tips series for ideas on how to make AutoCAD work for you. Do you have any favorite AutoCAD tips? Tell us in the comments!